Using the Meetings Tool
How to start, join, and run meetings with Ninety.

Written by Tommy Mains
Updated at January 23rd, 2026
-
 Account Options and Troubleshooting
-
 Integrations
-
 Getting Started
-
 Insights
-
 Scorecard
-
 Rocks
Rocks
-
 To-Dos
-
 Issues
-
 Meetings
-
 Headlines
-
 V/TO
V/TO
-
 Accountability Chart
-
 1-on-1
-
 People and Toolbox
-
 Directory
-
 Knowledge Portal
-
 Assessments
-
 Mobile
-
 Maz
Maz
Table of Contents
Ninety's Meetings Tool for EOS®
The Meetings tool![]() powers all your organization's team meetings. This article explains how to use Ninety's Meetings tool while using the Entrepreneurial Operating System®, including:
powers all your organization's team meetings. This article explains how to use Ninety's Meetings tool while using the Entrepreneurial Operating System®, including:
- How to start a meeting
- How to join a meeting in progress
- What a meeting's rating means
- What's included in the recap email
- How to observe a previous meeting's recap
- Advice on meeting best practices
Learn from an EOS Professional Implementer®
Our CRO, Kris Snyder, is also a practicing EOS Professional Implementer®. Read his guide for leading world-class Level 10 Meetings™ by clicking below.
User Roles and Permissions
| Action | Observer | Managee | Manager | Admin | Owner |
|---|---|---|---|---|---|
| Start a meeting | ❌ | ✅ | ✅ | ✅ | ✅ |
| Join a meeting | ✅ | ✅ | ✅ | ✅ | ✅ |
| Vote in IDS | ❌ | ✅ | ✅ | ✅ | ✅ |
| Create To-Dos | ❌ | ✅ | ✅ | ✅ | ✅ |
| Customize agenda | ❌ | ❌ | ✅ | ✅ | ✅ |
| Schedule meetings | ❌ | ❌ | ✅ | ✅ | ✅ |
| Delete meetings | ❌ | ❌ | ✅ | ✅ | ✅ |
For more information on user roles and permissions for the Meetings tool, click here.
Meetings Tool Basics
Meetings Tool Basics
How to Get Started with Ninety's Meetings Tool
Our Meetings tool![]() guides your teams through the essential steps needed to align on priorities, solve Issues, and document next steps.
guides your teams through the essential steps needed to align on priorities, solve Issues, and document next steps.
Any licensed user in a meeting can create items, mark items complete, or take notes. The agenda timer sticks with the user who started the meeting.
Click through the tabs below to learn the basic functions of the tool.
Start a Meeting
To start a meeting:
- Click Meetings from the left navigation.
- Choose a team from the dropdown.
- Click Start a Meeting.
- Select an agenda from the popup to launch the meeting.
Your most recently used agendas appear first, followed by a list of our default agendas and then any created or customized agendas.

What You Can Do During a Meeting
After starting or joining a meeting, users can:
- Click any agenda item
- Use the Create button
- Pause the meeting timer
- Take notes (click Show Notes on the bottom left corner)
- Click View Tool to access any tool in Ninety
- Contact our chat support
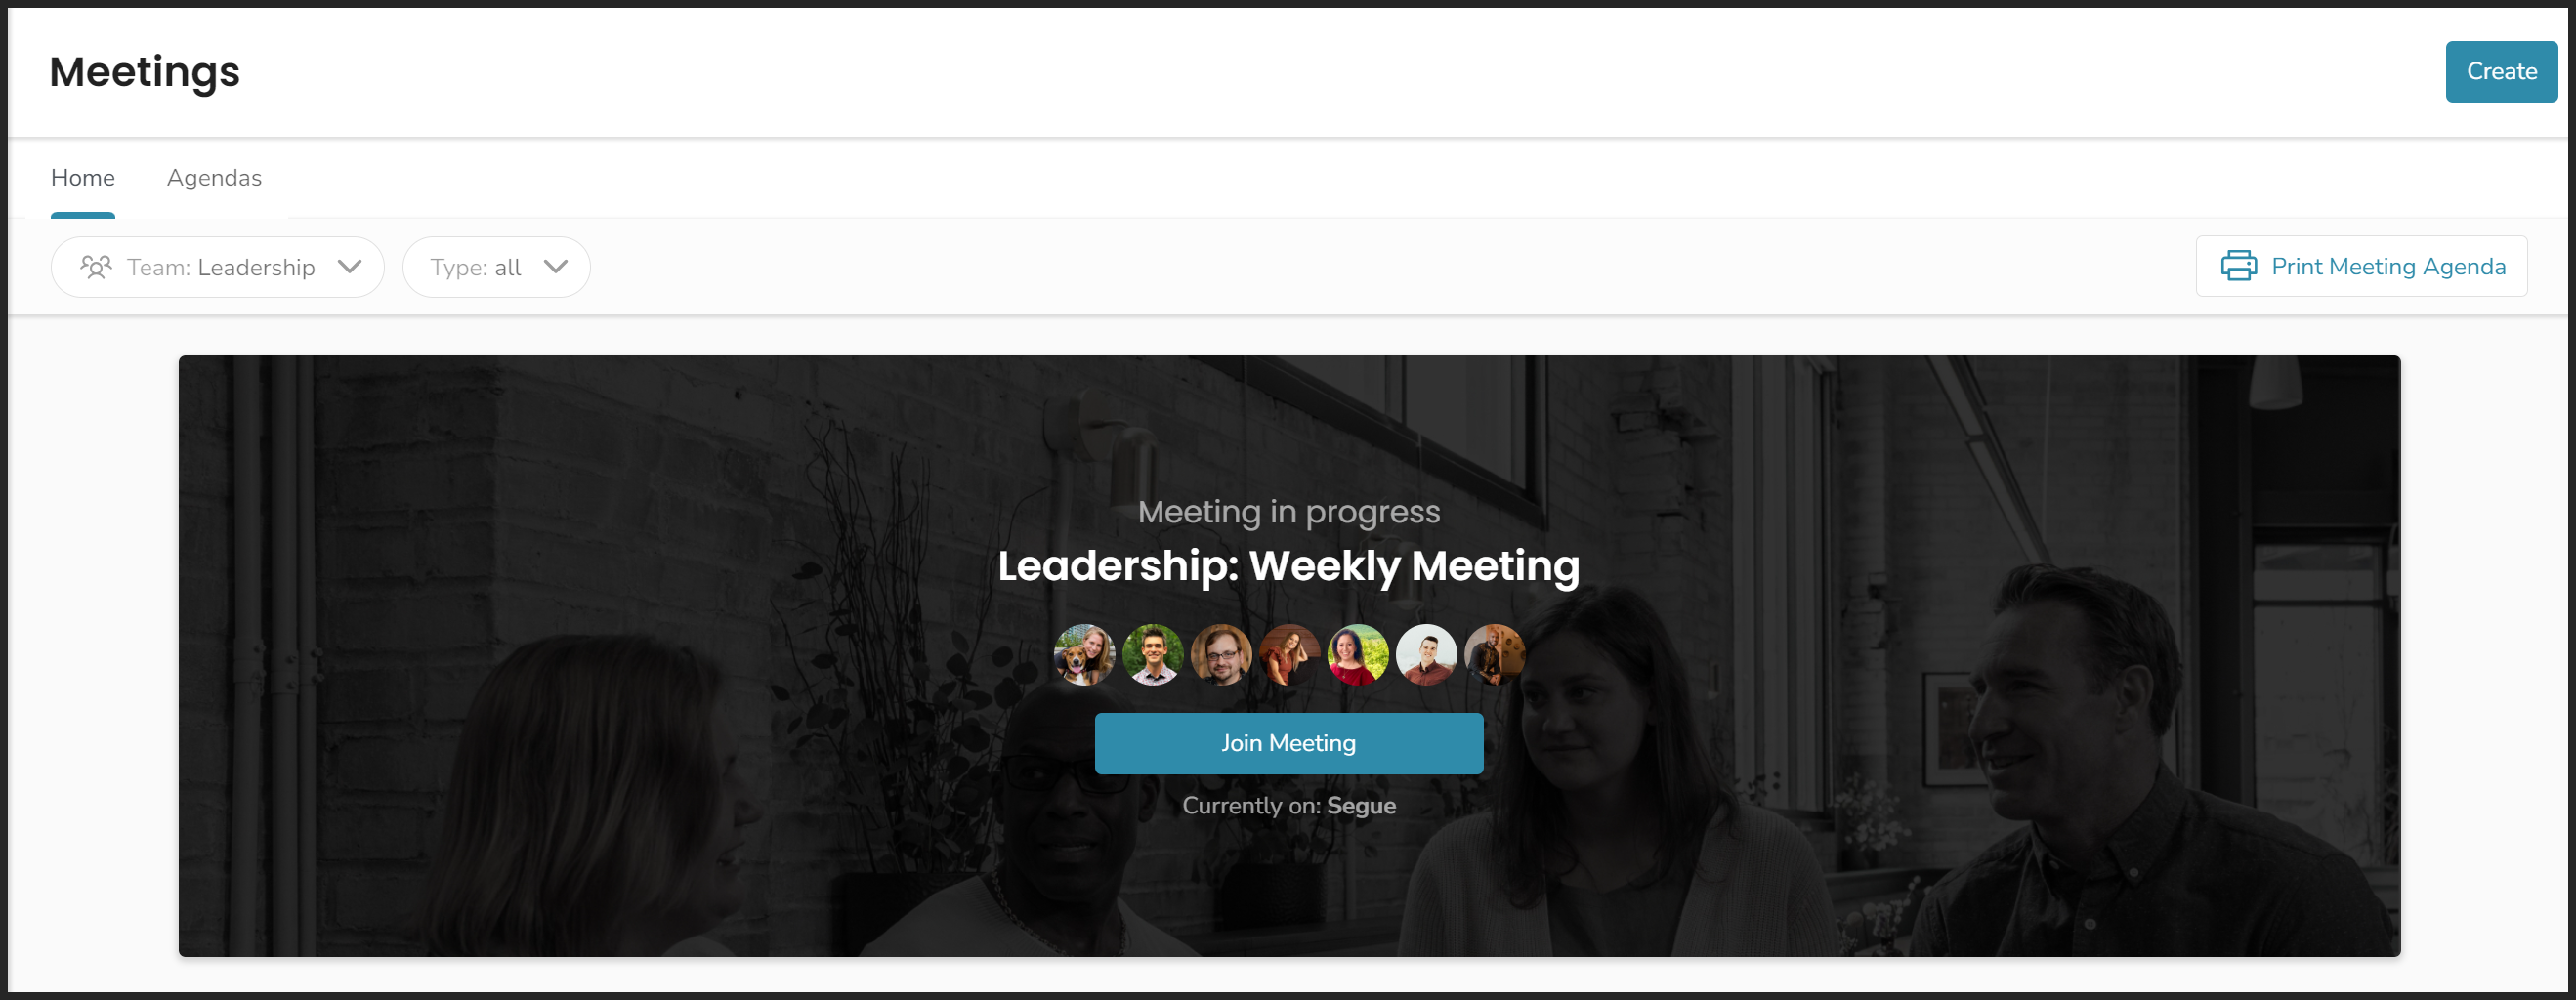
Join a Meeting
To join a meeting in progress, click Meetings > Join Meeting. As long as you have the correct team selected from the dropdown, you'll be able to join your team's meeting to interact with the tools in real-time, take notes, and follow along with the presenter.
The facilitator controls the meeting for the team, so when the they end the meeting, all attendees receive a notification that the meeting has ended. The presenter sees Finish at the bottom of the screen instead of the Leave Meeting option.
After joining a meeting, any licensed user can click Claim Presenter toward the top right of the screen to guide the flow of the meeting. After clicking, the user will confirm they want to become the meeting's presenter. All meeting participants will be notified when the presenter changes.
During the meeting, the Presenter can be identified by the microphone icon overlayed on a user profile image toward the top of the page.
Meeting Conclusion Cue
When the presenter moves to the Conclude section, everyone who has joined the meeting receives a cue to join that section of the meeting as well.
Meeting Ratings
During the Conclude step, team members are asked to provide their rating for the meeting on a 10-point scale.
Meetings deserve a 10 when they:
- Start and end on time
- Include prepared attendees
- Hold open and honest discussions
- Solve Issues
- Document needed action items
Team members should be trusted to reduce their rating when meetings aren't held to these standards. When someone rates a meeting as an “8” or lower, we recommend having a quick discussion with them about how the next meeting can be improved.
Recap Email
All team members with a paid license receive a recap email after a meeting's conclusion. Users can opt-out by unchecking Send Meeting Recap Email on the Conclude page.
The recap email includes:
- Headlines read
- Rocks created (during quarterly or annual meetings)
- To-Dos created
- Issues solved
- Issues metrics
- Meeting notes
- Attachments
- Ratings by team member
- Section durations (time spent per agenda item)
Team members can also access and edit meeting recap information in the Meeting History section of the Meetings tool.
History
Easily access a recap of every team meeting with the Meetings tool.
To review a previous meeting, click on Past Meetings tab. This page lists all your team's previous meetings, which can be filtered by type and team using dropdowns. Click on a meeting's row to open its details card which recaps the following information:
- Headlines read
- Rocks created
- To-Dos created
- Issues solved
- Issues metrics
- Meeting notes
- Attachments
- Ratings by team member
- Section durations (time spent per agenda item)
Click the download button to export the visible meetings history into a csv file.
Read our article, Issues Dashboard, to learn how to set Issue-solving goals for your team's meetings.
Create and Customize Your Meeting Agendas
Create and Customize Your Meeting Agendas
Editing any of our custom agendas or creating your own is a powerful way to make your meetings work for your team.
Companies on the Accelerate or Thrive subscription tiers can create and customize agendas. Coaches and partners who have customized agendas in Partner Hub can push them to their clients on the Accelerate or Thrive tier.
Editing an Existing Agenda or Creating a Custom Agenda
Users with the role of Manager or higher can edit and customize meeting agendas. Read more about roles here.
Editing Agendas
- Click Meetings from the left navigation.
- Click the Agendas tab.
- Choose the correct team from the Team dropdown.
- Click the agenda to edit from the list shown.
- Customize the agenda by:
- Toggling on or off listed agenda sections.
- Click the pencil icon to edit a section's details.
- Click Add Custom Section to create your own agenda item.
- Click Add Tool Section to a Ninety tool to the agenda.
- Click and drag items to rearrange the agenda.
- Click Save Changes.

Creating New Agendas
- Click Meetings from the left navigation.
- Click the Agendas tab.
- Choose the correct team from the Team dropdown.
- Click + Create Agenda at the bottom of the agendas list.
- Name the agenda.
- Add custom and/or tool sections.
- Drag and drop agenda items into the desired order.
- Adjust the duration of each item.
- Click Create Agenda.

You cannot update the Meeting name of a default agenda.
Adding Custom Text or a URL to a Section
You can add pre-written text or a custom URL to a product board, spreadsheet, or any website the team uses. To create this kind of custom page, use the pencil icon to the right of any section and update the rich text window or URL field accordingly.
Things to remember when adding a URL:
- The URL needs to be HTTPS (we are a secure site, so the site entered needs to be secure).
- The URL needs to be public. It cannot be behind a password-protected page (iframe-friendly URLs are recommended).
- Many websites disable iframe embedding for security reasons. If your link fails to load, please contact the website owner and ask them to allow content to be embedded by “
*.ninety.io” (this is Ninety's web domain).
If you see a padlock icon (instead of a pencil icon), the section has predetermined text or functionality that cannot be edited.
Starting a New Meeting with a Custom Agenda
All your agendas (custom-made included) appear in a list when you're starting or scheduling a meeting. To start a meeting with a custom agenda:
- Click Meetings from the left navigation.
- Choose the team from the Team dropdown.
- Click Start a Meeting.
- Choose the custom agenda from the list shown.
Customizing Agendas for the Whole Company
An admin, owner, or implementer should use company settings to push a custom agenda to all teams.
1. Click your name at the bottom of the left navigation.
2. Click Company Settings.
3. Click Meetings.
4. Select an agenda from the dropdown or click the plus button to create a new agenda.
5. Click Save.
6. Click More Options.
7. Click Push to All Teams.
Now, all the teams in your organization will have this agenda as a default option for their meetings. Clear and focused agendas are critical for meeting efficiency. Team members should know what to expect when they enter a meeting and how they can participate.
Printing Meeting Agendas
Printing Meeting Agendas

Teams may need a printed copy of the team's meeting agenda. When you generate a PDF of one of your team's meeting agendas, we'll include:

- The agenda section durations
- Current Rock statuses
- Headlines and Cascaded Messages
- The team's To-Dos list
- The relevant Issues list
- The team's Scorecard
To print one of Ninety's default agendas or one of your customized agendas:
- Click Meetings from the left navigation.
- Choose a team from the Team dropdown.
- Click Print Meeting Agenda on the far right of the filters bar.
- Click one of the agendas to generate the PDF.
How to Print the PDF
Once you have downloaded the PDF, follow these steps to print it:
- Open the file using a PDF viewer such as Adobe Acrobat, Preview (Mac), or a web browser.
- Go to file> Print or press Ctrl + P (Windows) / Cmd + P (Mac) to open the print dialog.
- Ensure the correct printer is selected.
- Choose the appropriate page size.
- Set orientation (Portrait/Landscape) based on the layout.
- Adjust margins and scaling if necessary for better readability.
- Click Print to complete the process.
Meeting Recap Email Notifications
Meeting Recap Email Notifications
How to Manage Meeting Recap Email Notifications in Ninety
After every team meeting, Ninety automatically sends a recap email to all participants. This article explains what's included in that email, who receives it, and what to do if something is missing.
What's included in the recap email
The meeting recap email summarizes the key outputs from your meeting. By default, each recap includes the following:
- Headlines shared during the meeting.
- To-Dos created by participants during the meeting.
- Issues resolved during the meeting.
- Meeting notes.
Rocks created during a meeting will not be included in the recap email.
Who receives the recap email
The recap email is automatically sent to all team members when a meeting concludes. You don't need to be actively joined when the meeting ends to receive it. This includes Coaches/Implementers.
How to opt out of a specific meeting recap

During the meeting conclusion process, any team can choose to skip the recap email for that session. To do so, deselect the Meeting recap email checkbox before closing the meeting.
This setting applies to a single meeting only — it does not change your default notification preferences.
Scheduling Meetings
Scheduling Meetings
How to Schedule Meetings with Ninety
Scheduling your meetings in advance allows your team members to prepare effectively and context switch from working to collaborating.
The Upcoming Meetings Page

Use the Upcoming page in the Meetings tool to start, join, or schedule a team meeting. To schedule a meeting for your team:
- Click Meetings from the left navigation.
- Select the intended team from the Team dropdown.
- Click Schedule a Meeting.
- Choose an agenda from the Select Agenda dropdown.
- Click the calendar icon to select a meeting date.
- Enter the start time for the meeting based on your time zone in Ninety.
- (Optional) Choose when to repeat the meeting from the Repeating Meeting Cadence dropdown.
- (Optional) Choose a facilitator and scribe from the respective dropdowns.
- Click Save.
- (Optional) Add the meeting to your work calendar.
The Upcoming Meetings page shows your previously scheduled meetings. We'll display all meetings scheduled during the next 30 days, including repeat meetings. Each scheduled meeting will remain on this page until it is started or after 48 hours.
Calendar Integration
After clicking Save when scheduling any type of meeting, a popup window with your meeting's details will appear.

Click one of the following options at the bottom of this window to open a draft invitation for this meeting in your work calendar.
- Google Calendar
- Office 365
- Teams
- .ics
The draft invitation will automatically include:
- Every member of the team in Ninety as invited guests.
- The name of the meeting and the team name in the invitation title.
- The date and time selected in Ninety.

To add a previously scheduled meeting to your calendar, the user who scheduled the meeting can:
- Right-click the upcoming meeting's row or click the ellipsis on the far right of the row.
- Select Add to calendar from the dropdown.
- Click your preferred calendar to open a draft invitation.
- Complete sending the invitation through your calendar service.
At this time, the calendar invitation is not synced with the Meetings tool Ninety. So, if you make changes to the calendar invitation or to the upcoming meeting, you'll need to make the same changes to the other.
Starting a Meeting
To start a scheduled meeting, click Start.
The Start button on scheduled meetings becomes active the day the meeting is scheduled to occur and remains active for 48 hours. If the meeting isn't started during that time, we'll remove it from your upcoming list.
For example, if your team has a Weekly Team Meeting scheduled every Monday at 10:00 but did not meet at all on Monday or Tuesday, then, by Wednesday, we'll switch to displaying the following Monday's scheduled meeting.
To start a previously unscheduled meeting:
- Click Start a Meeting.
- Select an agenda from the popup to launch the meeting.
Editing a Scheduled Meeting
To edit the details of a scheduled meeting:
- Click the ellipsis on the far right of the meeting's card.
- Click Edit Schedule.
- Click Save after editing any desired information.
Setting Your Time Zone
Ensure everyone on your team sees the correct meeting time by verifying your time zone in your settings.
Hint: Click Set time zone automatically to match your computer's settings.
Deleting a Scheduled Meeting
To delete a scheduled meeting:
- Click the ellipsis on the far right of the meeting's card.
- Click Delete.
- If this meeting is set to repeat, a popup will prompt you to delete just this meeting or every repeating meeting this meeting created.
Meetings Best Practices
Whether your team is meeting remotely, in-person, or a hybrid combination, there are a few steps you can take to have more productive meetings:
- Update your items before the meeting — Each team member should update their ®, Rocks, Milestones, Issues, and KPIs before the meeting starts so the team can focus on aligning and solving Issues with their time together.
- Prioritize and Rank Your Issues — Adding well-described Issues to your team's list before your meeting begins keeps the meeting flowing. To understand which Issues to discuss first, we have several ways of assigning priority to each one. Read our article, Prioritizing and Ranking Issues to learn more.
- Designate one facilitator and one scribe — The facilitator leads the meeting by explaining objectives, moderating discussions, and advancing the agenda. The scribe typically runs the software itself to take notes, complete items, and create additional items as needed.
Frequently Asked Questions (FAQs)
Can teams run their own meetings and create different agendas?
Yes, each team can run a variety of meetings. In addition to our default agendas, teams can customize existing agendas or create a custom one — learn how here.
Here are some common examples of custom meetings:
Weekly Touch Base
Department and team leaders often set up recurring meetings with their direct reports to discuss individual Issues, build a high-trust relationship, and coordinate professional development. Our goal is to power these meetings with our platform, which will allow for a customizable agenda, Issue lists, Measurable tracking, and more.
Leaders can create a customized agenda for these meetings to increase their effectiveness. For example, some touch base meetings may not benefit from reviewing their team's Scorecard, especially if the team as a whole reviewed it the day before or will review it the day after.
Project Teams
Project teams, often called Tiger teams, are formed to complete a specific, non-recurring task. These teams may benefit more from reviewing website analytics or a project management board than Measurables on a Scorecard, so customizing their agenda keeps them moving toward their goal.
Does Ninety record our meetings?
Ninety does not record any audio or video.
Our Meetings tool captures the following for recap emails:
- Headlines and cascading messages covered
- Issues solved
- To-Dos created
- Notes taken in the platform
- Time spent in each agenda section
- Meeting ratings
You'll need external tools to record the audio or video of your meeting.
Do we need to pay for every user who attends a meeting?
If you want team members to have access to Ninety and attend meetings for free, add them as users with the Observer user role. While Observers cannot be assigned items like To-Dos, Issues, Rocks, or KPIs in Ninety, this shouldn't stop you from keeping them involved in meetings and allowing them to view information you're sharing in Ninety.
📖 Learn more about adding users to teams here.
Will Observers receive the recap email from our team meeting?
No, Observers will not receive the meeting recap email.
What if I have multiple meetings started at the same time?
A small subset of our users may have had multiple meetings started on the same team in Ninety. To access all of the newest features in the Meetings tool, these users will need to delete or end all of the in-progress meetings first.
How do I print the past meeting information?
To print or export to PDF the recap from a previous meeting held on Ninety:
- Click Meetings from the left navigation.
- Click the Past Meetings tab.
- Select a specific meeting.
- Press ctrl + P on your keyboard to use your browser's print screen function.
- Save the file as a PDF or choose a printer.
To export the following information from all your team's selected meetings into a spreadheet, click the download button from the filters bar to export.
- Date of the meeting
- Time the meeting began
- Agenda used
- How long the meeting lasted
- Who the facilitator was
- The average meeting rating from all who attended