Assigning and Unassigning Users on the Accountability Chart
How to assign or unassign a user from the Directory to a Seat on the Accountability Chart.

Written by Tommy Mains
Updated at April 30th, 2026
-
 Account Options and Troubleshooting
-
 Integrations
-
 Getting Started
-
 Insights
-
 Scorecard
-
 Rocks
Rocks
-
 To-Dos
-
 Issues
-
 Meetings
-
 Headlines
-
 V/TO
V/TO
-
 Accountability Chart
-
 1-on-1
-
 People and Toolbox
-
 Directory
-
 Knowledge Portal
-
 Assessments
-
 Mobile
-
 Maz
Maz
Table of Contents
After creating a structure for your departments, teams, and seats, you'll want to start assigning team members. Users should regularly review the roles and responsibilities for their Seats and discuss any discrepancies with their manager.
Assigning a User to a Seat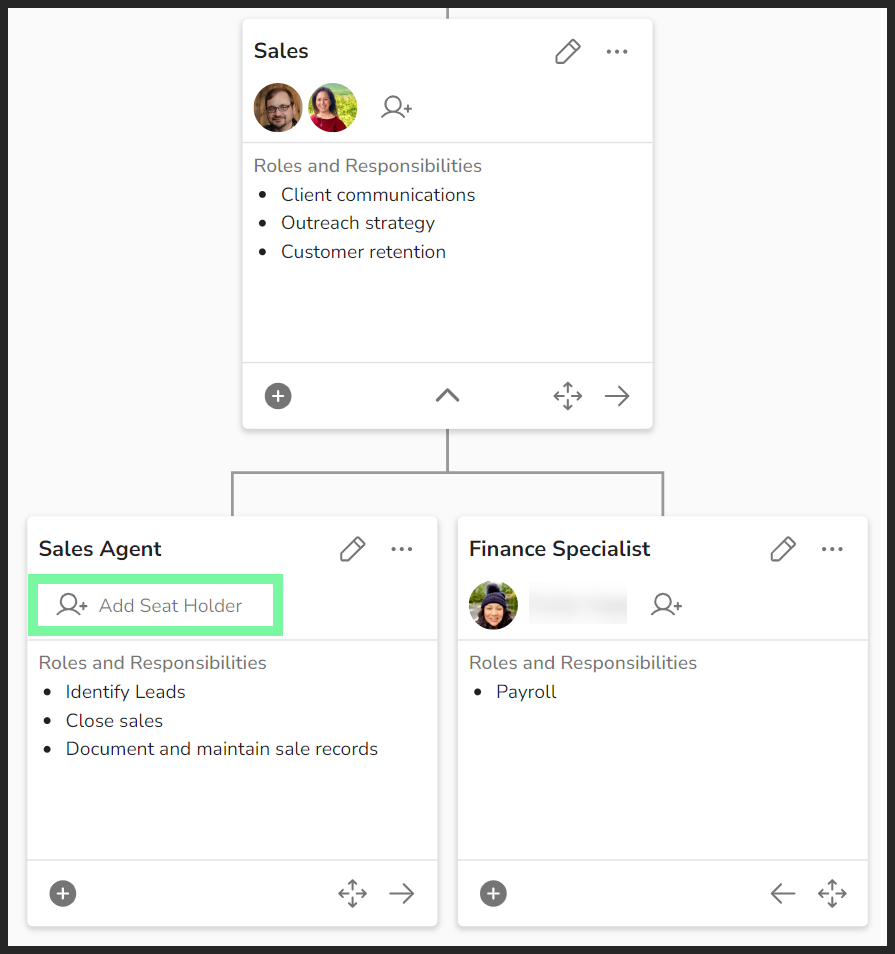
To assign a user from your Directory to a Seat:
- Click Accountability Chart from the left navigation.
- Click Edit Chart at the top right of the page.
- Click the profile icon (
 ) on the Seat's card.
 - Click the user's name from the popup.
Changes are saved automatically.
To find the seat you're assigning someone to, you may need to click the down arrows to expand departments/teams or use the search bar.
Note: Any user in the Directory can be assigned to a Seat, including inactive users. Account activation is not required.
Unassigning a User
To unassign a user from a Seat:
- Click Accountability Chart from the left navigation.
- Click Edit Chart at the top right of the page.
- Hover over the user's profile image and click the 'x'.
To unassign all users from a Seat:
- Click Accountability Chart from the left navigation.
- Click Edit Chart at the top right of the page.
- Click the pencil icon (
 ) to open a Seat's details panel.
 - Click the trash can icon (
 ) to remove all assigned users from the Seat.
 - Click Save.